The main buttons
E: extrude
S:scale
Z: wireframe and solid
ALT: ring loop
X: delete
C:
paint pick polygons
CMD Z: return back to the previous step
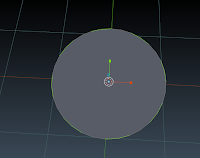
1.step. first
pick face and extrude in toward.
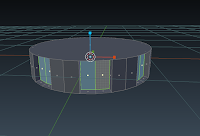
2. next top face extrude and s
hape 3 pic sighted.
 3.
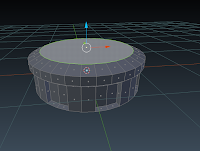
3. delete floor face and add modifier subdivide.
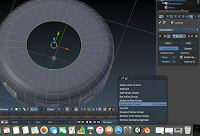
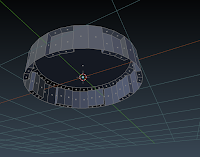
4. delete top face. nex space
write grid fill. 6 photo-sighted.
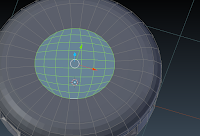
6. photo

5. pick verts and move down.
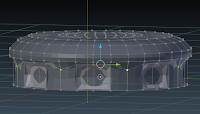
6. pick edges S.
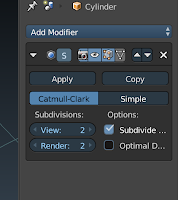 |
| modifier subdivide |
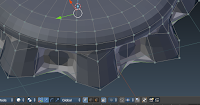
7. pick vests and S.
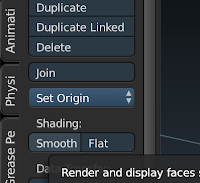
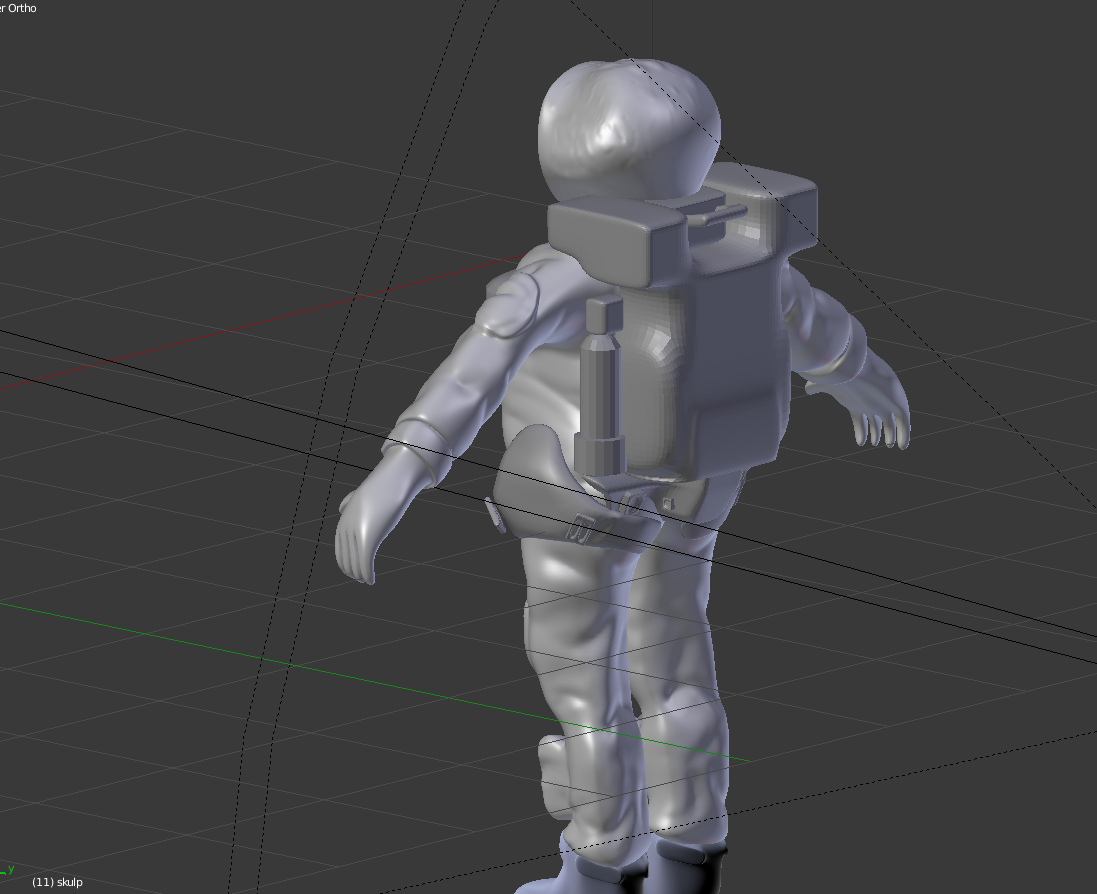
8. smoot face.
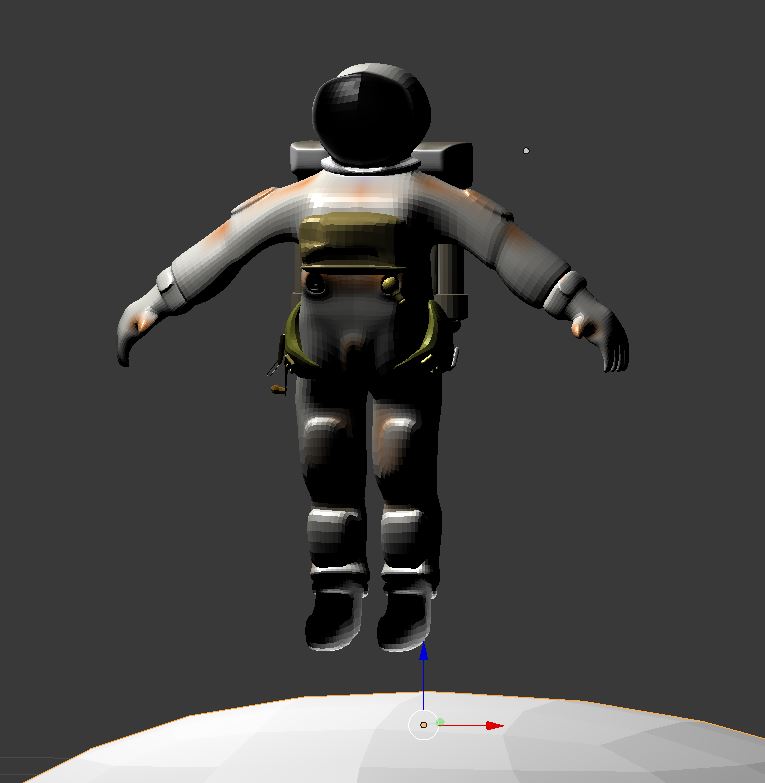
9. finally choose materials and render.


 2. next top face extrude and shape 3 pic sighted.
 3. delete floor face and add modifier subdivide.
 4. delete top face. nex space write grid fill. 6 photo-sighted.
 6. photo
 5. pick verts and move down.

 7. pick vests and S.
 8. smoot face.
 Prepared Rhinoceros year 2012.prepared
  prepared Blender year 2014.
 prepared Blender year 2012.
 prepared Blender year 2012.

 steel materials.


